These Vegan Garlicky-Pepper Tofu Bites with Chili Dipping Sauce are one of my absolute favorite appetizers, because they’re both delicious and easy. And I pretty much always have the ingredients on hand! These were actually first developed for Nasoya’s Tofu U website (go check it out!)
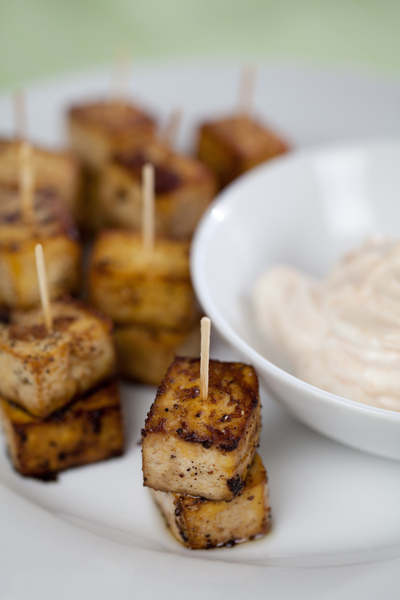
You’d never expect something so easy to be so yummy, or lovely. I mean look at those! You could serve them at your fanciest cocktail party and all your friends would just be wowed.
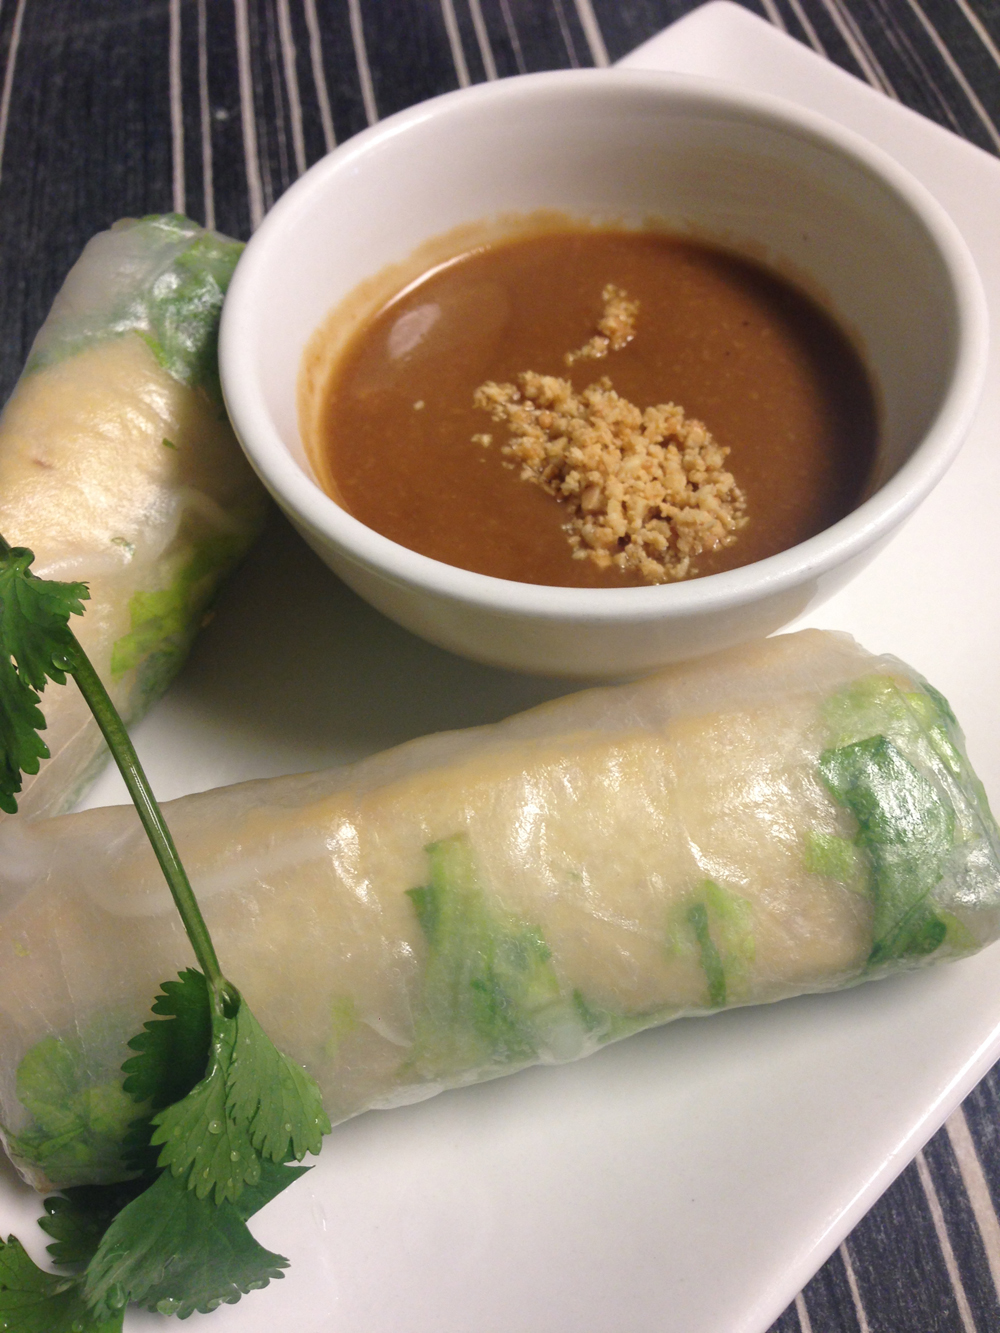
My favorite part is the dipping sauce. Or no, maybe it’s the crispy little black bits on the baked tofu.
Or maybe it’s the fact that you don’t need a fork or spoon to eat them. I mean c’mon… everything tastes better when its served on a toothpick, right?
So go on. Wow your friends. You know you want to.
And if you’re in the mood for more scrumptious tofu recipes, try some of these on for size:
- 1 12oz package Nasoya Black Soybean tofu, well pressed
- 2 Tablespoons soy sauce
- 1 Tablespoon sesame oil
- 1 teaspoon black pepper (a little more or less, depending on how much you love pepper!)
- 1 teaspoon garlic powder
- 1 teaspoon lemon juice
- Non-stick spray
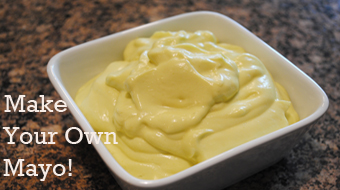
- ½ cup vegan mayo
- 2 teaspoons chili powder (if you’re heat-averse, start with 1 teaspoon and taste before adding more)
- Firstly, make sure your tofu is really well pressed! You want these bites to be firm so they’ll stay on the toothpicks. Slice the tofu in half lengthwise through the center, giving you two large flat rectangles. Stack on top of each other, then slice into thirds. Slice again into thirds in the other direction. This will give you 18 bite-sized cubes. If you want smaller bites, slice into fourths.
- Mix the soy sauce, sesame oil, black pepper, garlic powder and lemon juice, then add the tofu. Let them hang out together in the fridge for about an hour. Preheat the oven to 350 degrees. Cover a baking sheet with aluminum foil and spray with a little cooking spray. Spread the tofu out on the foil and bake for 20 minutes. Remove, spray the tops of the tofu with more non-stick spray, then flip each piece.
- Cover with the remaining soy sauce mix, and add a few cracks of pepper, then back for another 15-20 minutes or until they’re firm and are starting to get dark and crispy around the edges. While the tofu is in the oven, mix together the Nayonaise and the chili powder for your dipping sauce. Chill until ready to serve. When the tofu is done, serve 1-2 per toothpick for a healthy, delicious appetizer!
 Follow